What You'll Need
- 2 pieces of blocked stockinette stitch fabric
- The same yarn used for your project
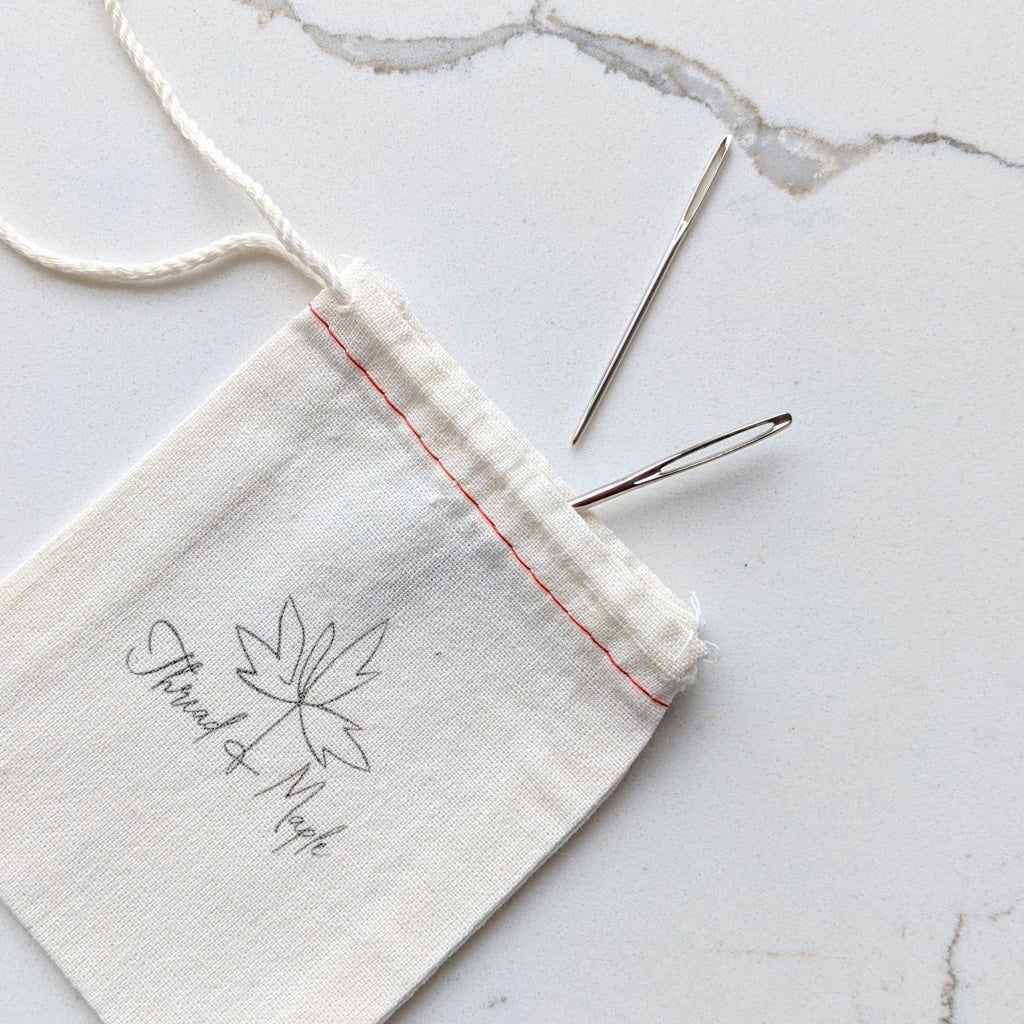
- Tapestry/darning needle
Step 1: Set up your fabric
To get set up for doing the Mattress Stitch, lie both pieces of fabric next to each other with the right side facing you.

Step 2: Secure the bottom edges
Secure both pieces of fabric to each other at the bottom edges with a figure 8 knot. To do this, insert your tapestry needle from the bottom to the top of the leftmost edge stitch on the piece of fabric on the right, then into the edge stitch from the bottom to the top on the rightmost edge stitch of the piece of fabric on the left, and again through the edge stitch on the right piece of fabric.

Step 3: Start on the right side
Locate the leftmost row of ‘Vs’ on the piece of fabric on the right. Insert your tapestry needle to the left of the first ‘V’ on the bottom of the fabric, grabbing the ladder next to it from the bottom to the top.

Step 4: Work the left side
Locate the rightmost row of ‘Vs’ on the piece of fabric on the left. Insert your tapestry needle to the right of the first ‘V’ on the bottom of the fabric, grabbing the ladder next to it from the bottom to the top.

Step 5: Continue alternating
Repeat this process by alternating between each piece of fabric, shifting up a row each time to pick up the next ladder.

Step 6: Secure the top
At the top, secure the edge stitches by inserting your tapestry needle from the bottom to the top in the leftmost edge stitch on the piece of fabric on the right and in the rightmost edge stitch of the piece of fabric on the left.

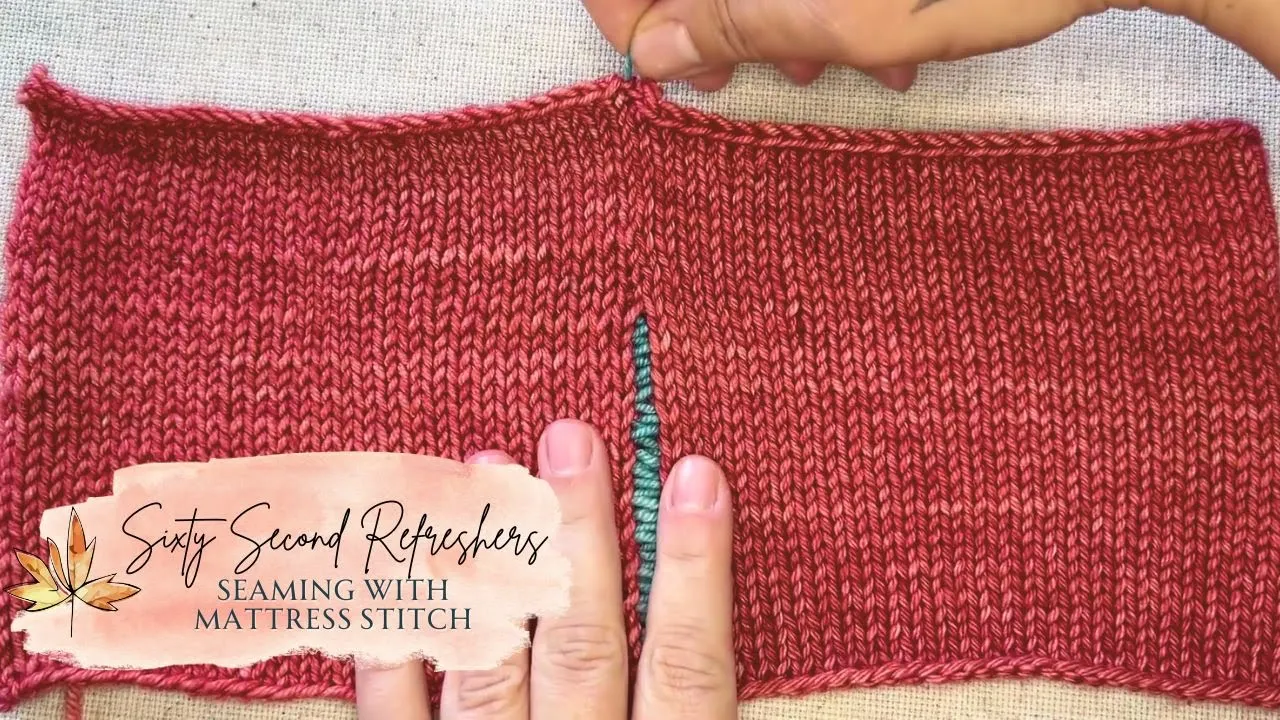
Step 7: Pull together
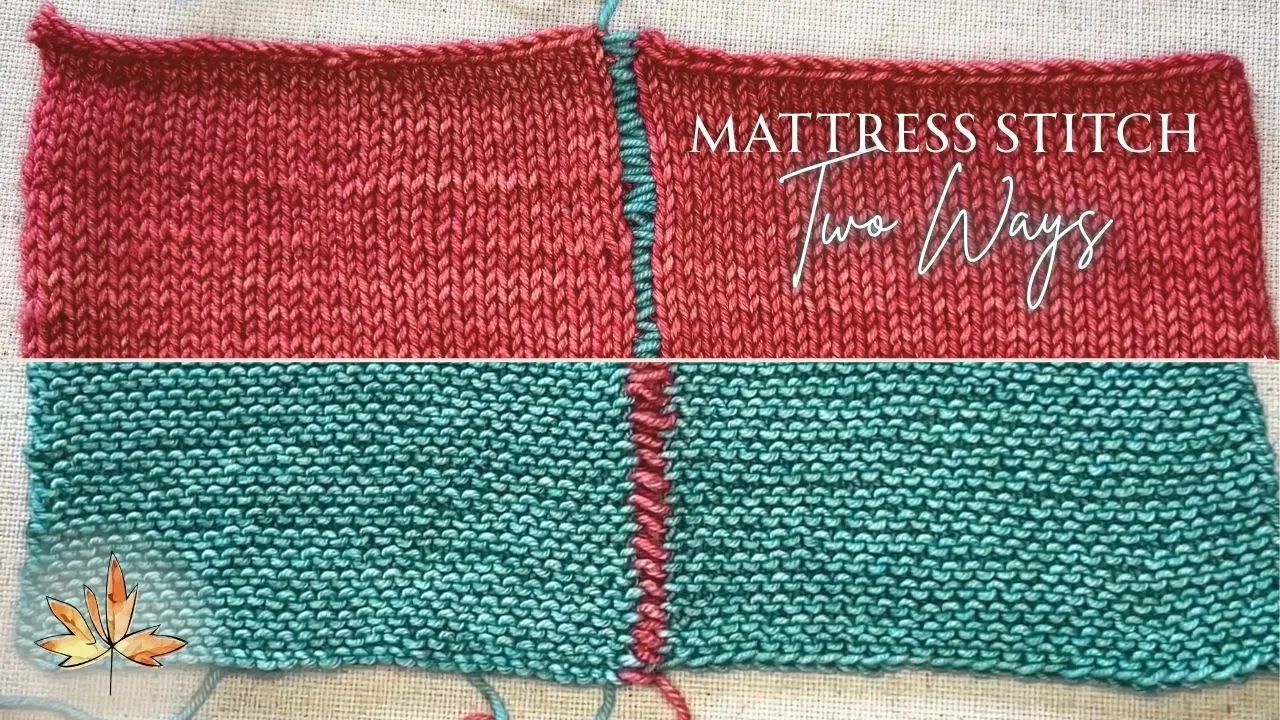
Finally, pull the yarn from the top while securing the fabric with your other hand. The two pieces of fabric should be pulled together without a visible seam on the right side of the work.

The mattress stitch is a great way to join knitted pieces invisibly. With a bit of practice, you’ll get a seamless finish that looks professional from the right side and stays sturdy over time.