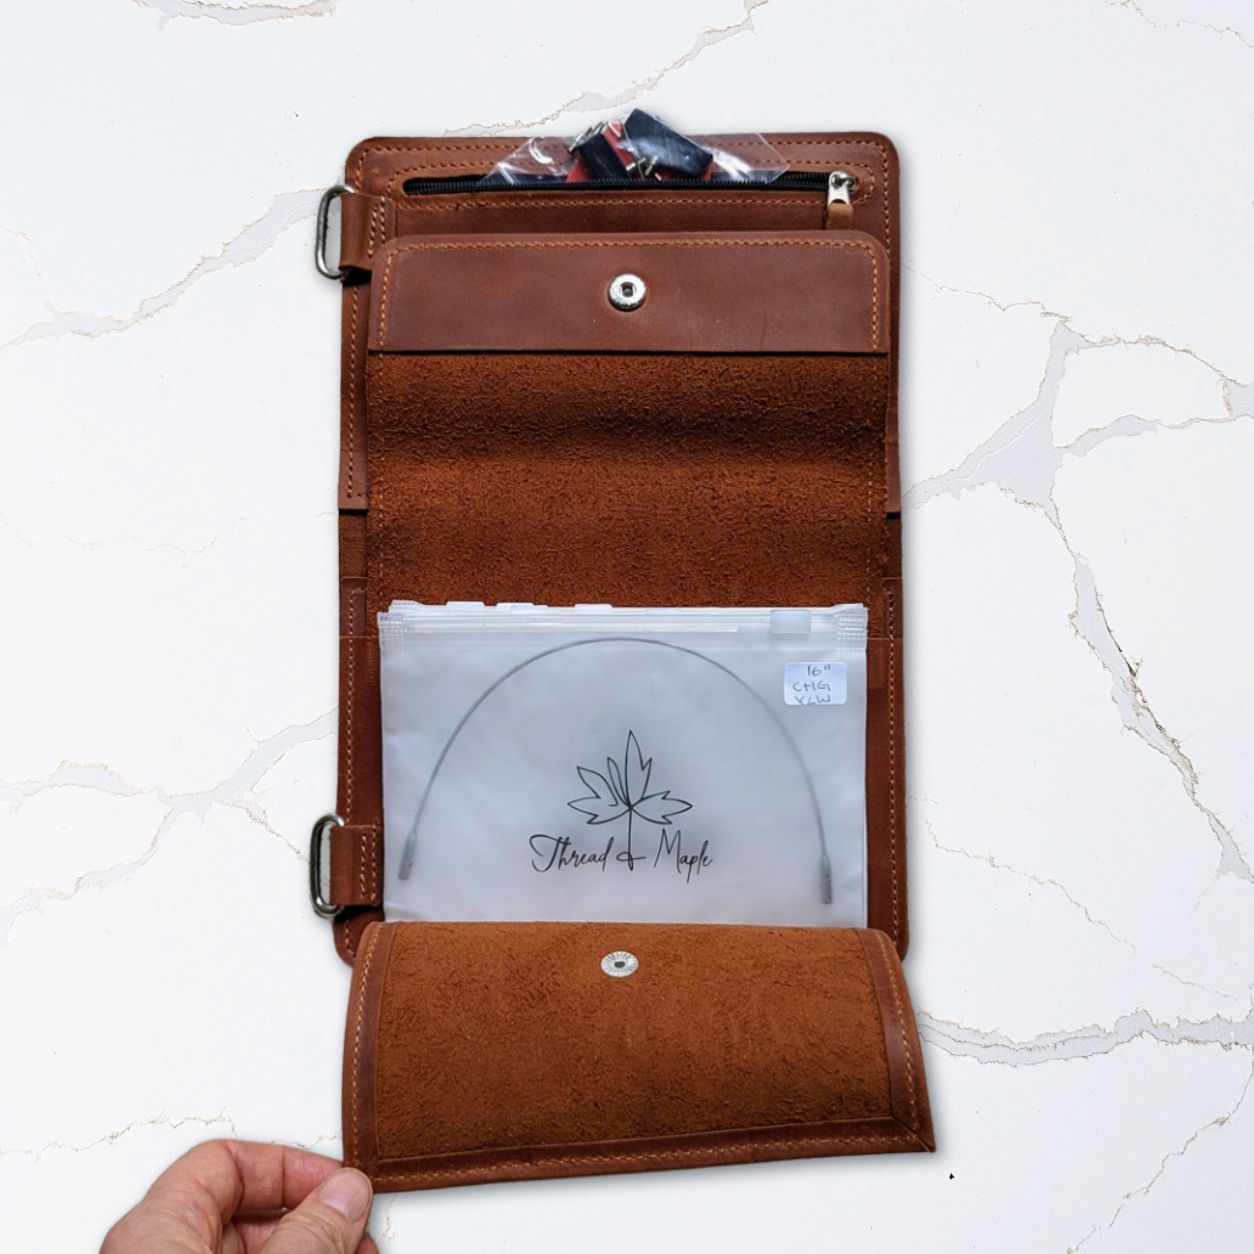
What You'll Need
- Sharp scissors
- Tapestry/darning needle
Step 1: Place a slip knot
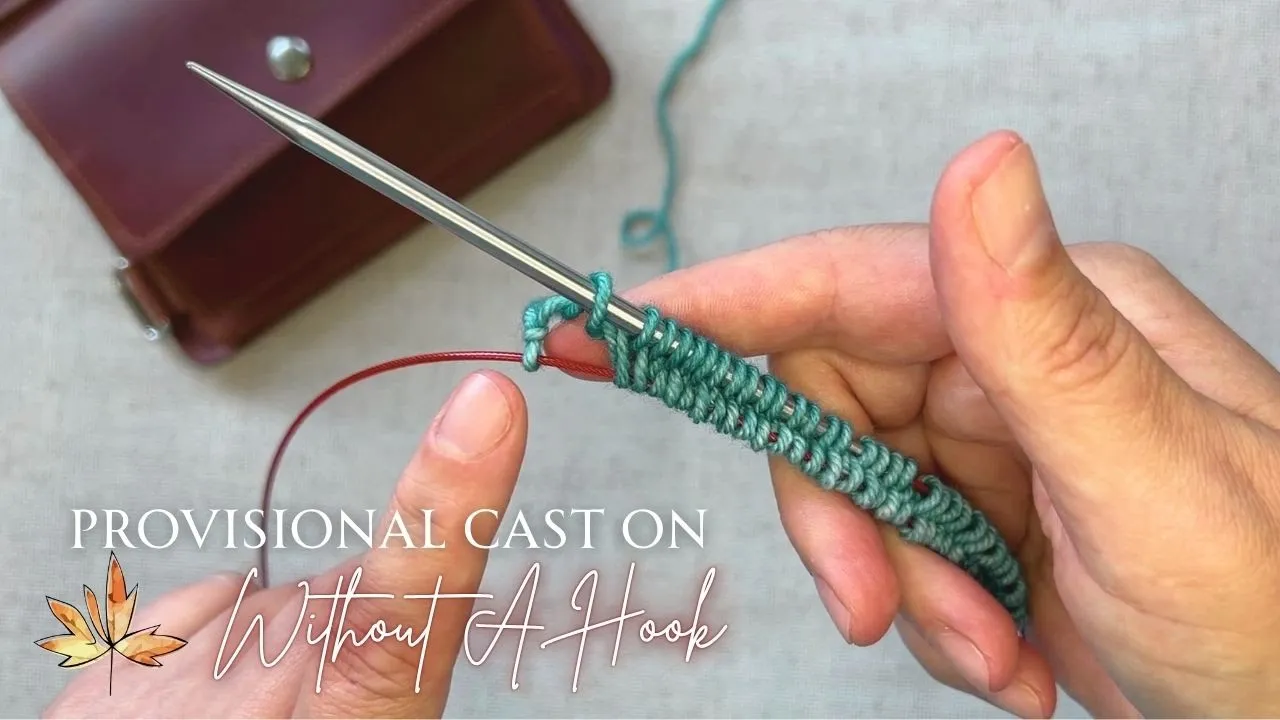
Using your project yarn (not scrap), place a slip knot on the spare circular needle cord and slide it to the center.

Step 2: Grab your working needle
Hold the working needle in your right hand and the spare cord in your left. Tension your yarn normally.

Step 3: Yarn over
Start with a yarn over in the counterclockwise direction.

Step 4: Go under the spare cord
Bring the working needle under the spare circular needle cord from front to back.

Step 5: Grab the working yarn
Wrap the working yarn around the needle counterclockwise.

Step 6: Bring it to the front
Bring the needle back to the front of the spare cord by coming under the cord, keeping the working yarn wrapped around the needle.

Step 7: Repeat steps 3–6
Continue this process until you have the desired number of cast-on stitches. Leave the stitches live on the spare cord.

Step 8: Work in the other direction
Attach your interchangeable needles to the spare cord holding the stitches to work in the opposite direction.

Step 9: Remove the slip knot
The slip knot can now be removed. It does not count as a provisionally cast-on stitch.

Step 10: Knit through the back loop
Some stitches may be twisted. Knit these stitches through the back loop to untwist.