

What You'll Need
- 32" circular needle (or longer)
-
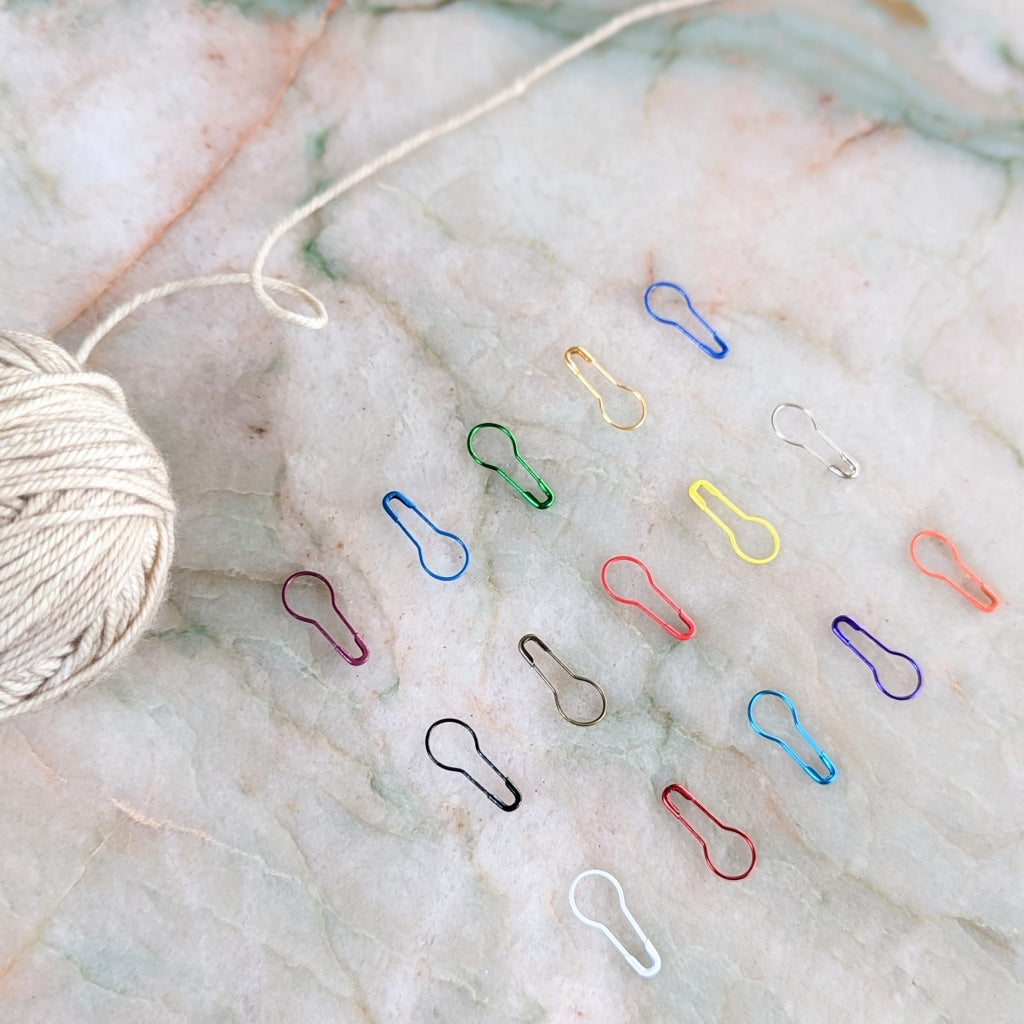
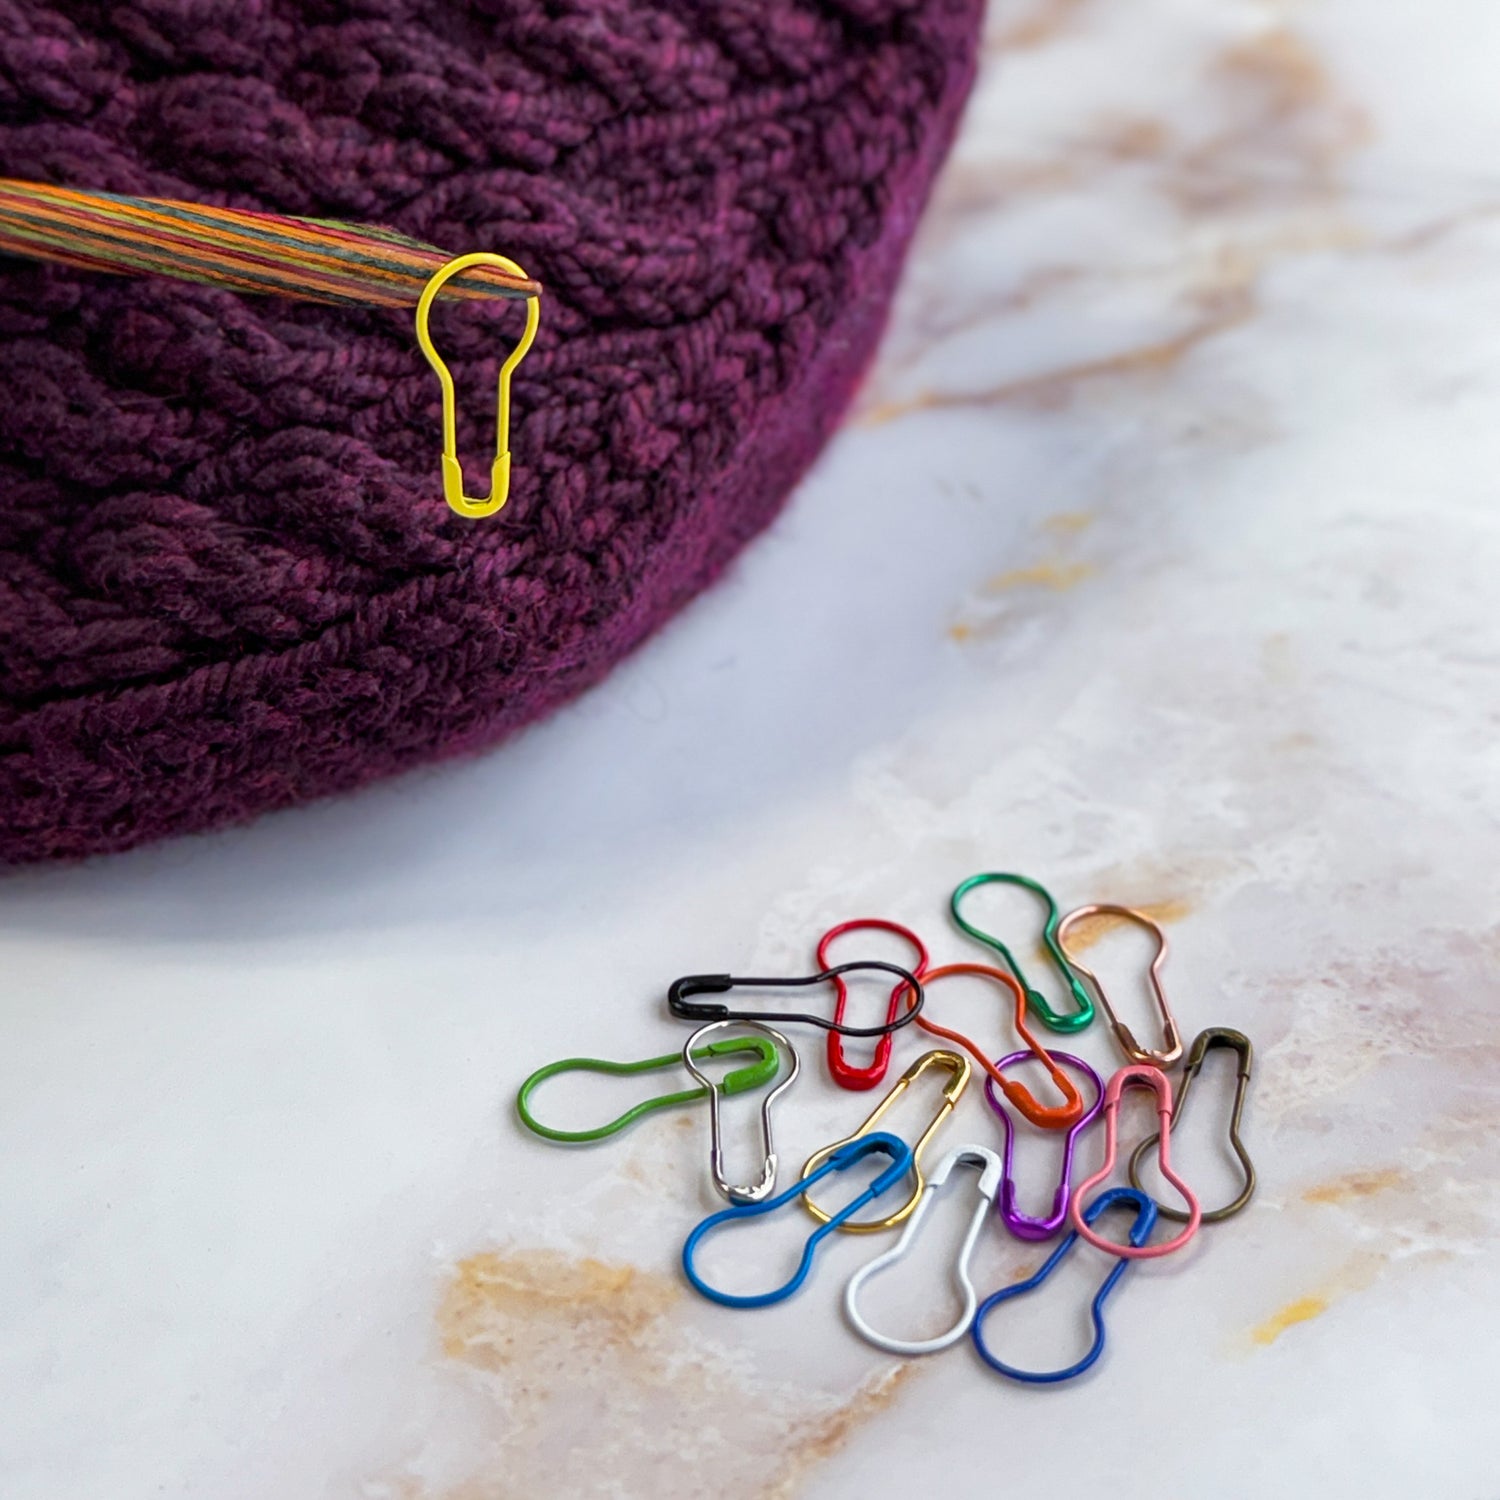
Removable stitch markers
Step 1: Cast On
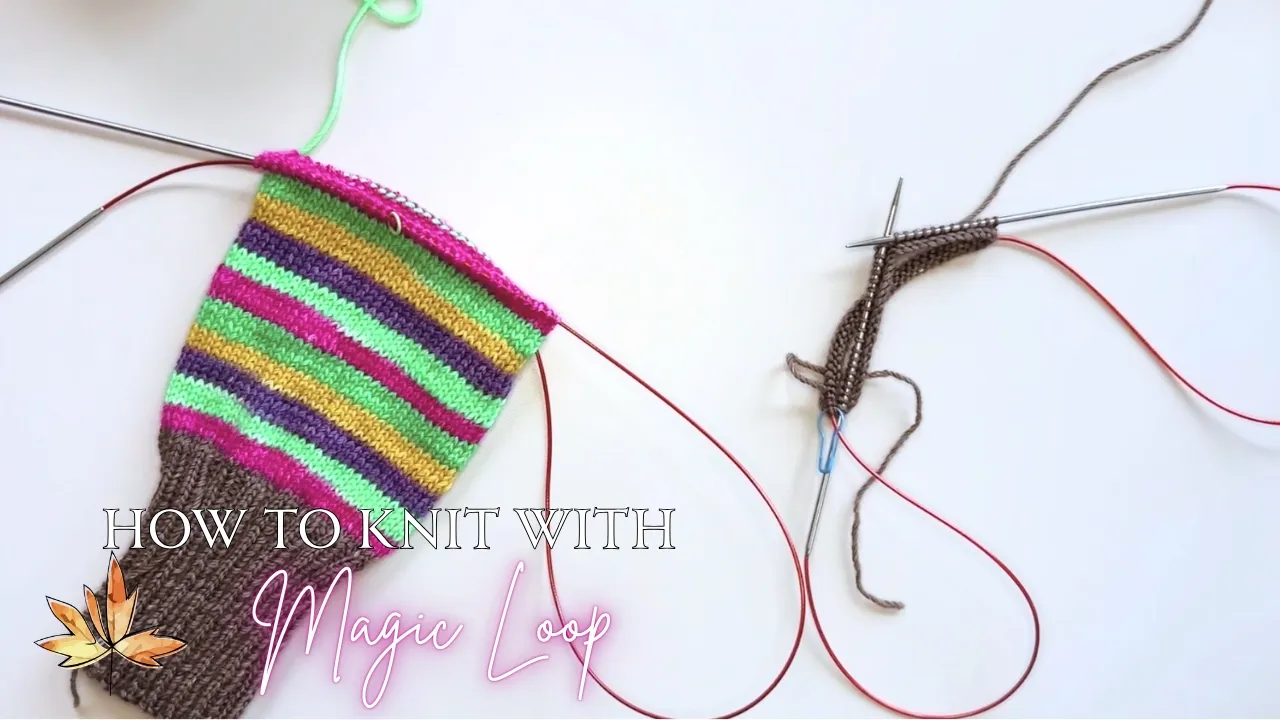
Cast on your desired number of stitches, or however many your pattern calls for, just as you normally would. Once all your stitches are on the needle, slide them down so they're resting along the cord rather than the needle tips.

Step 2: Pull the Cord Through
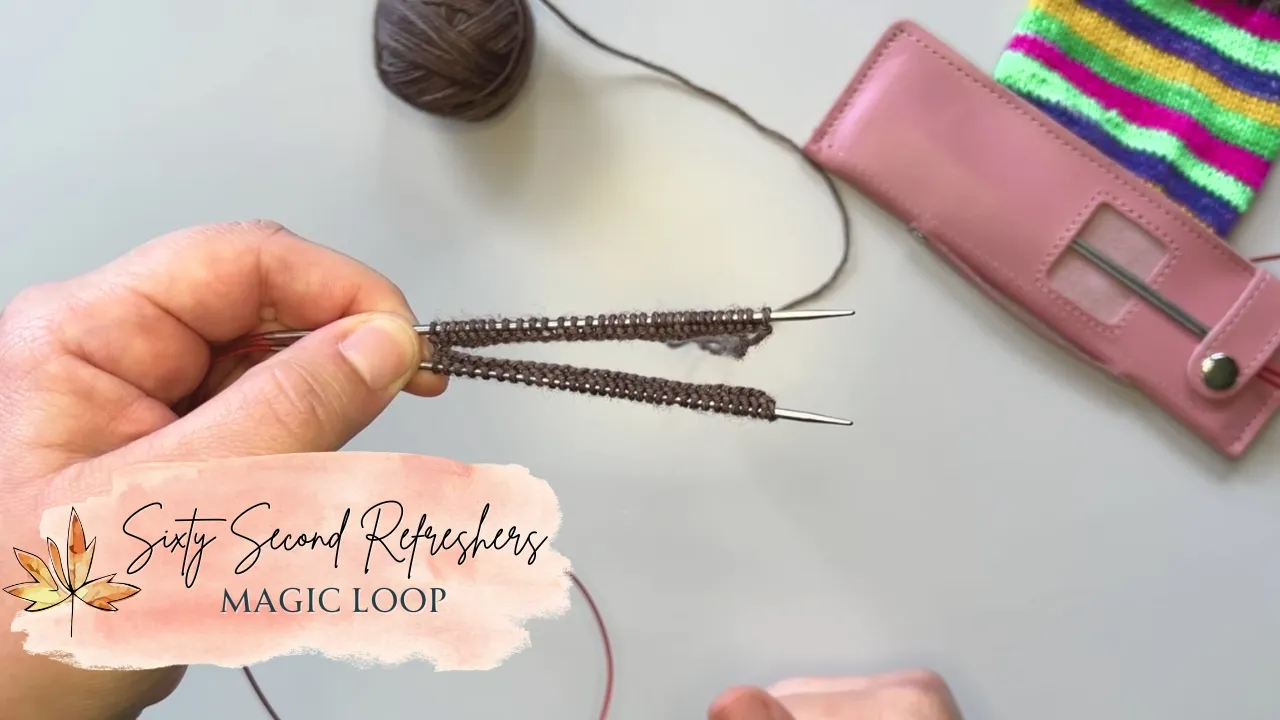
With all your stitches happily sitting on the cord, find the halfway point. Pinch and fold the cord in half at that midpoint, then pull the cord out between the stitches so they split evenly — half on one side, half on the other. That little loop of cord you've created? That's called the dog ear, and it's the heart of the Magic Loop method.

Step 3: Arrange the Stitches
Slide the stitches up onto their respective needle tips — half on one, half on the other. With the stitches in place, take a moment to make sure nothing is twisted before you join in the round. Getting this right now saves a lot of heartache later!

Step 4: Find Your Back Needle
Now it's time to identify your front and back needles. The easiest way: find the needle with the working yarn attached to it — that's your back needle. The other needle, holding the stitches you'll work into first, is your front needle.

Step 5: Pull Out the Back Needle
The back needle is about to become your working needle. Supporting the front needle and its stitches with your left hand, use your right hand to pull the back needle out, letting its stitches slide down onto the cord. You'll now hold this needle tip in your right hand, ready to knit.

Step 6: Start Knitting
The trick is pulling that back needle out far enough so you can easily use it to start knitting across the half of the stitches on the front needle, but not so far that you pull the loop of cord that you made in step 2 back into the stitches. Once you have enough room, insert the back needle (which is now the right hand needle) into the first stitch on the front needle (which is the left hand needle).
For this first stitch, it is important to pull tight as you are joining in the round. This is a common place where laddering or gapping can happen, and it can take some practice getting your tension just right.

Step 7: Turn Your Work
Once you've worked all the stitches on the front needle, slide the stitches on the cord back up onto their needle tip. Turn your work clockwise so the needle tips are pointing to the right, then take a quick moment to check that nothing has twisted and that the working yarn is once again attached to the back needle.
Then simply repeat Steps 5–7. You've got this!

The Magic Loop is truly magical!
With just one long circular needle, you can easily create any sized circumference you need for your knitting projects. For those graduating from knitting flat scarves and blankets, the Magic Loop will be a vital skill you'll start using from sweaters to mittens and more.
Check out our full tutorial video with tips on:
- How to manage laddering
- Shifting your stitches
- Managing stitch markers
Join our growing community of makers by sharing photos of your projects using the Magic Loop on social media using the hashtag #Thread&Maple. Visit our learning hub to improve your knitting skills and explore premium knitting tools and accessories designed to support and elevate your craft.