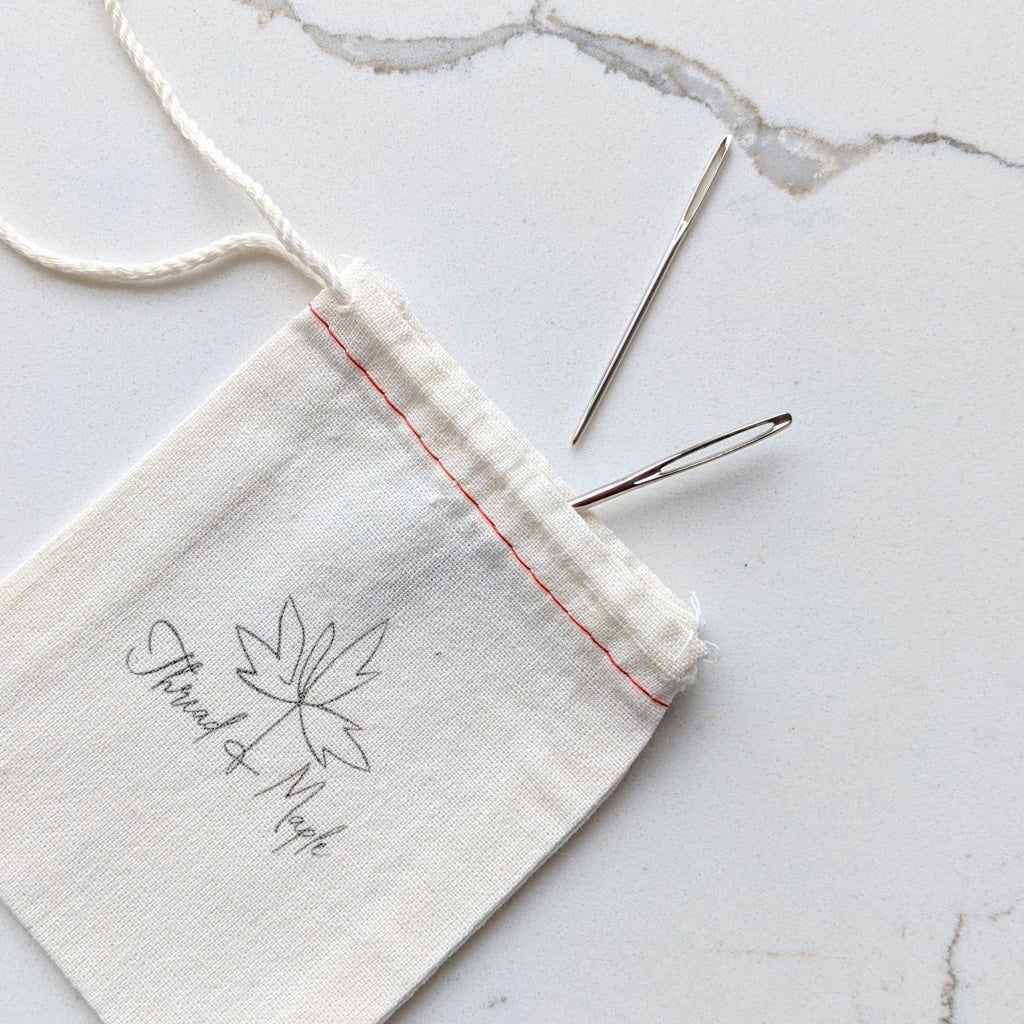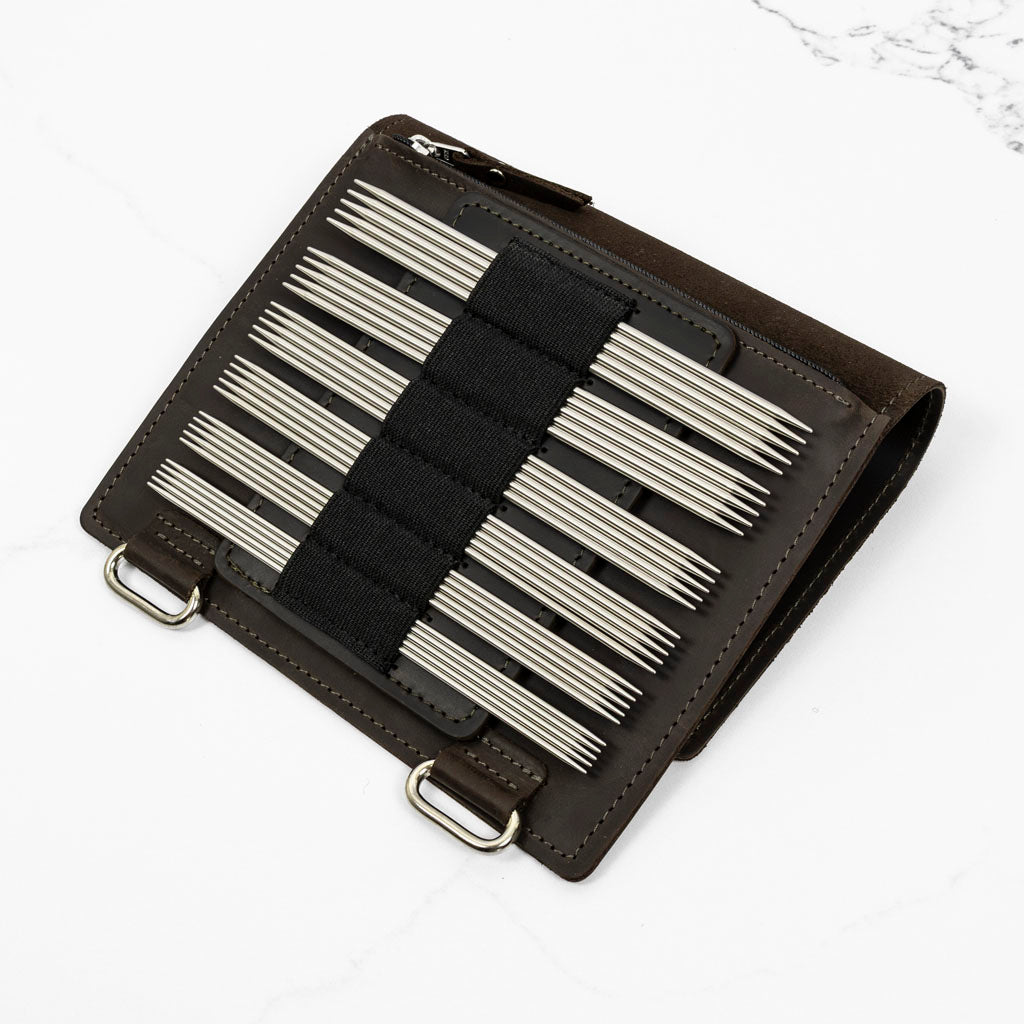
What You'll Need
- Tapestry needle
- Scissors
- A little bit of patience. If you don't get it the first time, undo the graft and try again. Your perseverance will pay off, I promise!
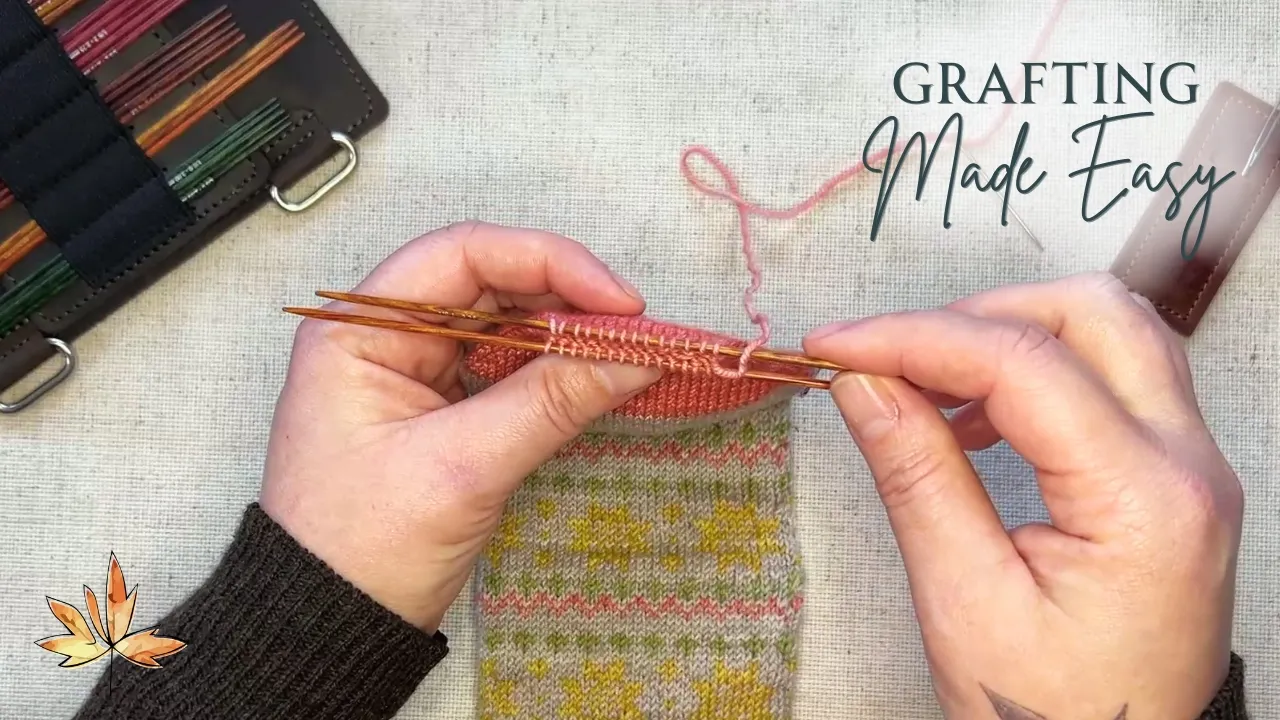
Step 1: Arrange your knitting
Evenly divide the two pieces of fabric that you want to graft together on two separate knitting needles. These can be two circular or double-pointed needles.
Arrange it so the working yarn is attached to the first stitch on the back needle. Cut the working yarn so that you have a tail 3 times the length of the section you are grafting.

Step 2: Start with the set up
Insert your tapestry needle into the first stitch on the front knitting needle purlwise and pull the yarn through. Leave this knit stitch on the front needle.

Step 3: Complete the set up
Insert your tapestry needle into the first stitch on the back needle knitwise and pull the yarn through. Leave this stitch on the back needle.

Step 4: Knit off
Insert your tapestry needle into the first stitch on the front needle knitwise. Slip this stitch off of the needle.

Step 5: Purl on
Pivot your tapestry needle and insert it into the next stitch on the front needle purlwise. Leave this stitch on the needle and pull the yarn through.

Step 6: Purl off
Insert your tapestry needle into the first stitch on the back needle purlwise. Slip this stitch off of the needle.

Step 7: Knit on
Pivot your tapestry needle and insert it into the next stitch on the back needle knitwise. Leave this stitch on the needle and pull your yarn through.

Step 8: Repeat until the last 2 stitches
Repeat steps 4 through 7 until you have two stitches left, one on each needle. Insert your tapestry needle into the stitch on the front needle knitwise. Slip this stitch off the needle and pull the yarn through.

Step 9: The last stitch
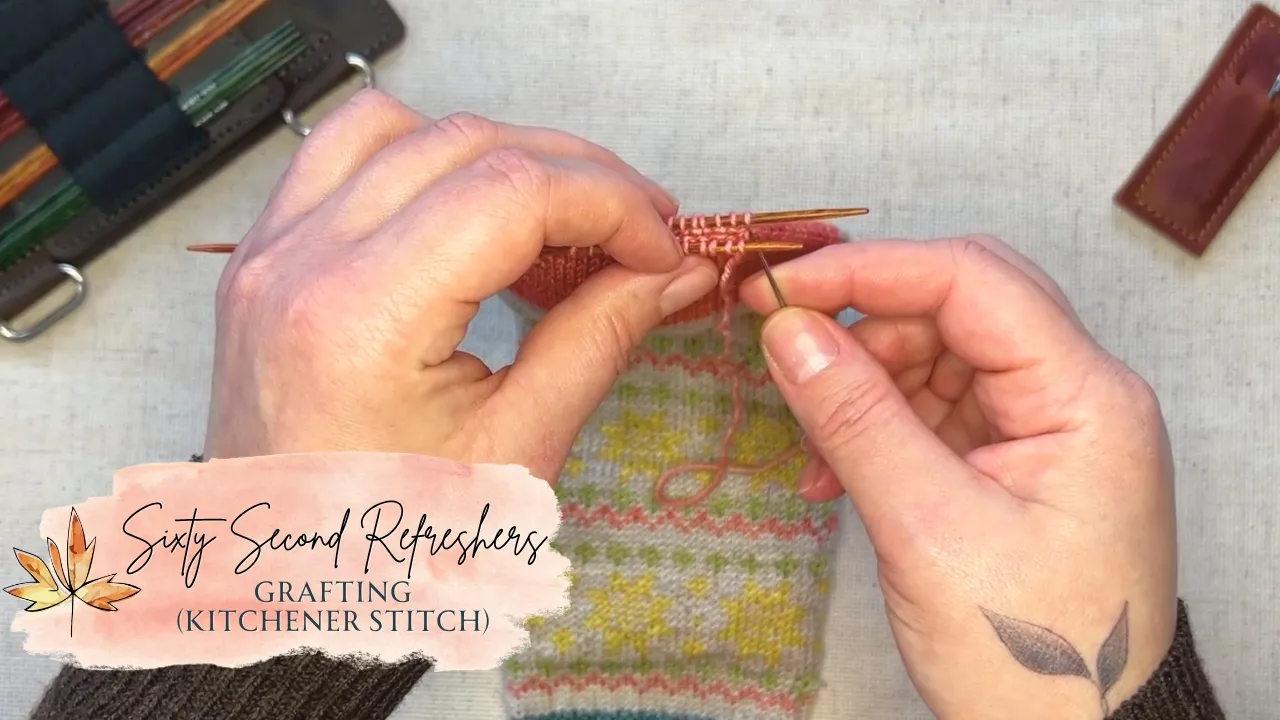
Insert your tapestry needle into the stitch on the back needle purlwise. Slip this stitch off the needle and pull the yarn through. You can now insert your tapestry needle into the fabric and pull the tail through to the wrong side of your work to weave in the end.

The Historical Context Behind Kitchener’s Stitch
A note about calling this technique "grafting" and not the “Kitchener’s stitch.” The use of this grafting stockinette stitch technique is said to have been popularized by the British military leader, Horatio Kitchener.
However, he was a problematic figure involved in Imperial Britain’s colonization of India and Africa, including the use of concentration camps during the Second Boer War (forty years before WWII). It is more accurate to use the word grafting, as it describes what this technique is doing.
We should not honor an undeserving figure with this useful grafting technique, but instead remember him for the death and destruction he caused in the world.