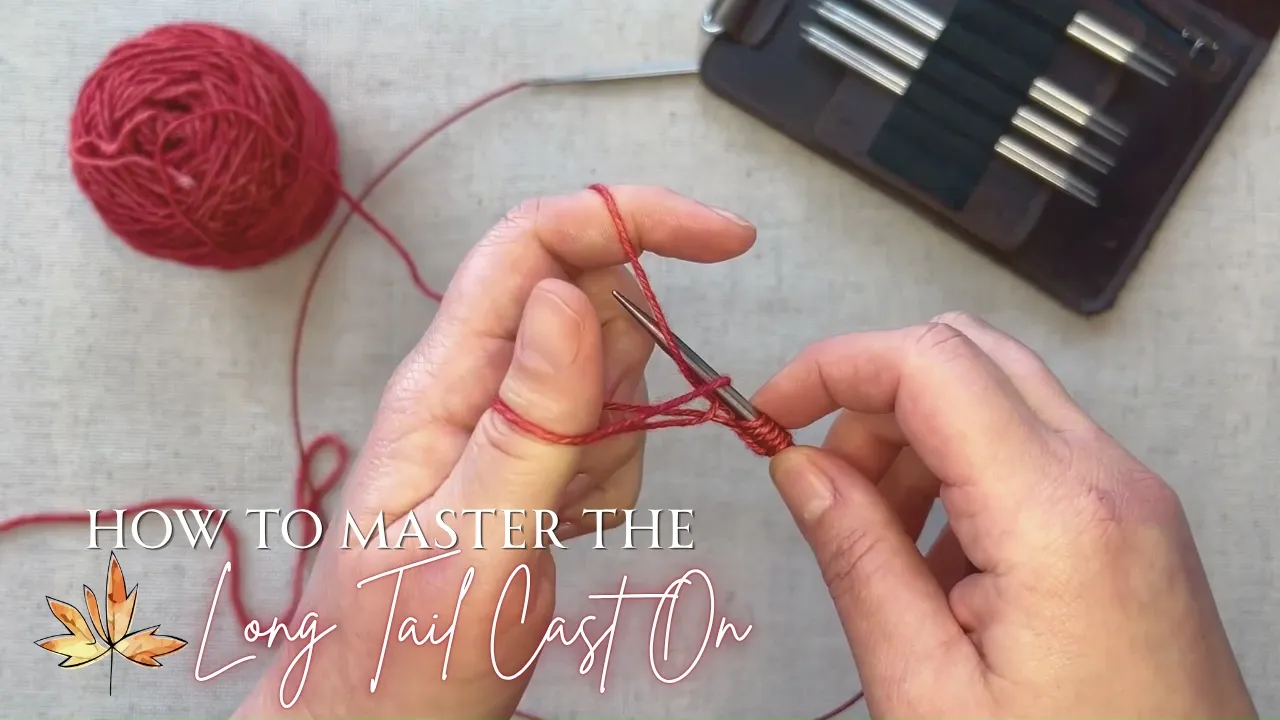
Step 1: The first cast-on stitch
With the needle in your right hand, make a slip knot and place it on the needle. Be sure to leave a long tail end to accommodate the number of stitches you will need to cast on. The slip knot will count as the first stitch cast.

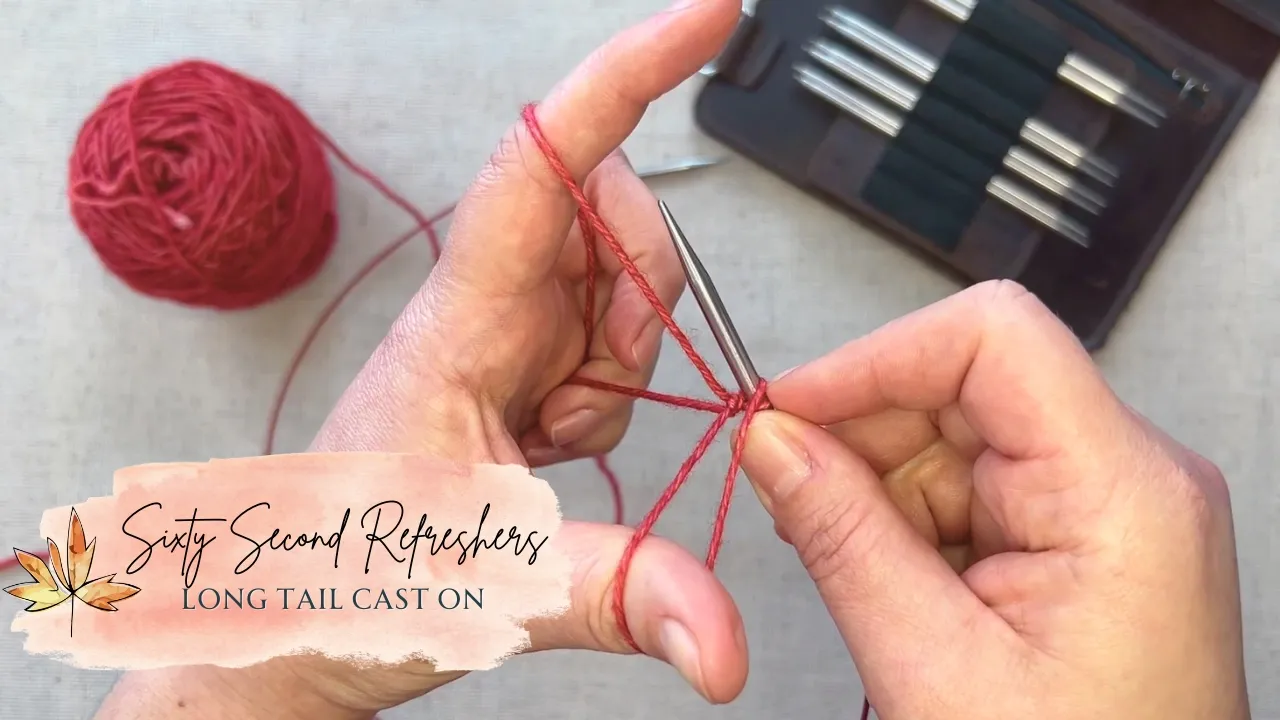
Step 2: Get in the Sling Shot position
Place your left hand thumb and pointer finger between the two strands hanging from the needle on your right side. Separate your thumb and index finger to hold the two strands apart from each other.
Wrap the bottom 3 fingers around the strands, holding them to your palm. With your right fingertip on the slip knot, gently pull the knitting needle down, so your working yarn looks like a slingshot.

Step 3: Needle tip to the base of the thumb
You should see that there is a loop wrapped around your thumb and a strand of yarn wrapped around your index finger. Bring the needle tip in your down to the base of your thumb, to the left of the loop wrapped around your thumb.

Step 4: Go through the loop
Slide the needle from the base of your thumb to the tip of your thumb. Your needle should travel through the loop wrapped around your left thumb. As you move forward, stay aware of the previous stitch so the spacing between stitches remains even and does not tighten like in a backwards loop cast.

Step 5: Grab the index finger yarn
Bring the needle away from your thumb and over to the strand of yarn wrapped around your index finger. Wrap the yarn from your index finger around the needle counterclockwise.

Step 6: Go back through the thumb loop
With the index finger yarn wrapped around it, bring the needle back to the tip of your thumb. Slide the needle down your thumb and through the loop wrapped around your thumb. Bring the needle away from your hand. You have cast on another stitch!

Step 7: Remove the thumb loop
Remove your thumb from the loop. You will then need to grab the other strand of yarn coming from your needle with your thumb and tighten it. You should see the original loop of yarn that was wrapped around your thumb tighten up against the needle.

Step 8: Reposition
You are now set up to reposition into the sling shot. You will notice the yarn around your thumb feels a bit loose, and the yarn around the index finger is tight.
Pull back down in the sling shot position by taking slack from the yarn wrapped around your index finger. Repeat steps 3-8 until you have your desired number of knit stitches.

Cast on With Confidence Using the Long Tail Method
The long tail cast-on gives you a simple way to create a strong, flexible foundation for knitting. Before you start, plan how much yarn you need so you can complete all the stitches without running out.
Check out our full tutorial video with tips on:
- How to fix a tight cast on
- Never run out of yarn for your long tail
- How to pick up a dropped cast on stitch
Join our growing community of makers by sharing photos of your first long-tail cast-on on social media using the hashtag #Thread&Maple. Visit our learning hub to improve your knitting skills and explore premium knitting tools and accessories designed to support and elevate your craft.