What You'll Need
- Crochet hook (appropriate size for your smaller weight waste yarn.)
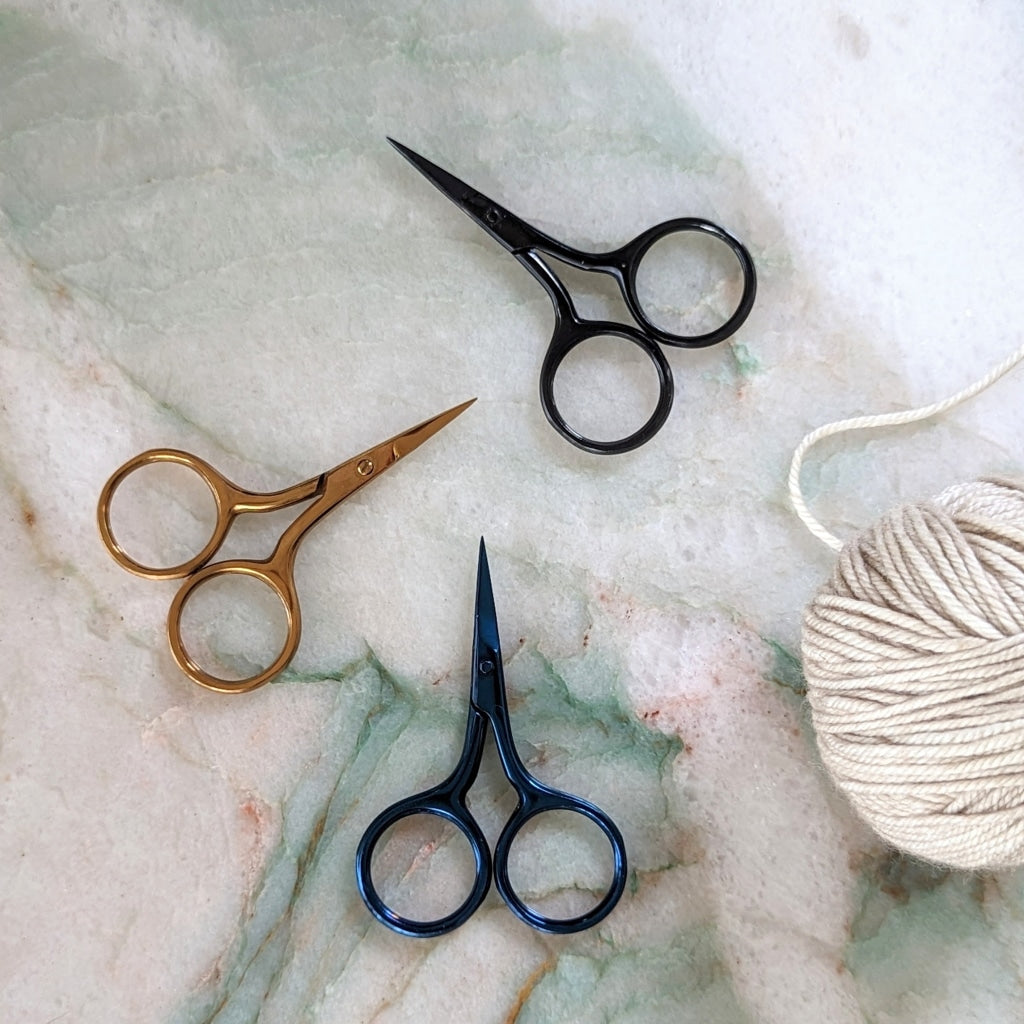
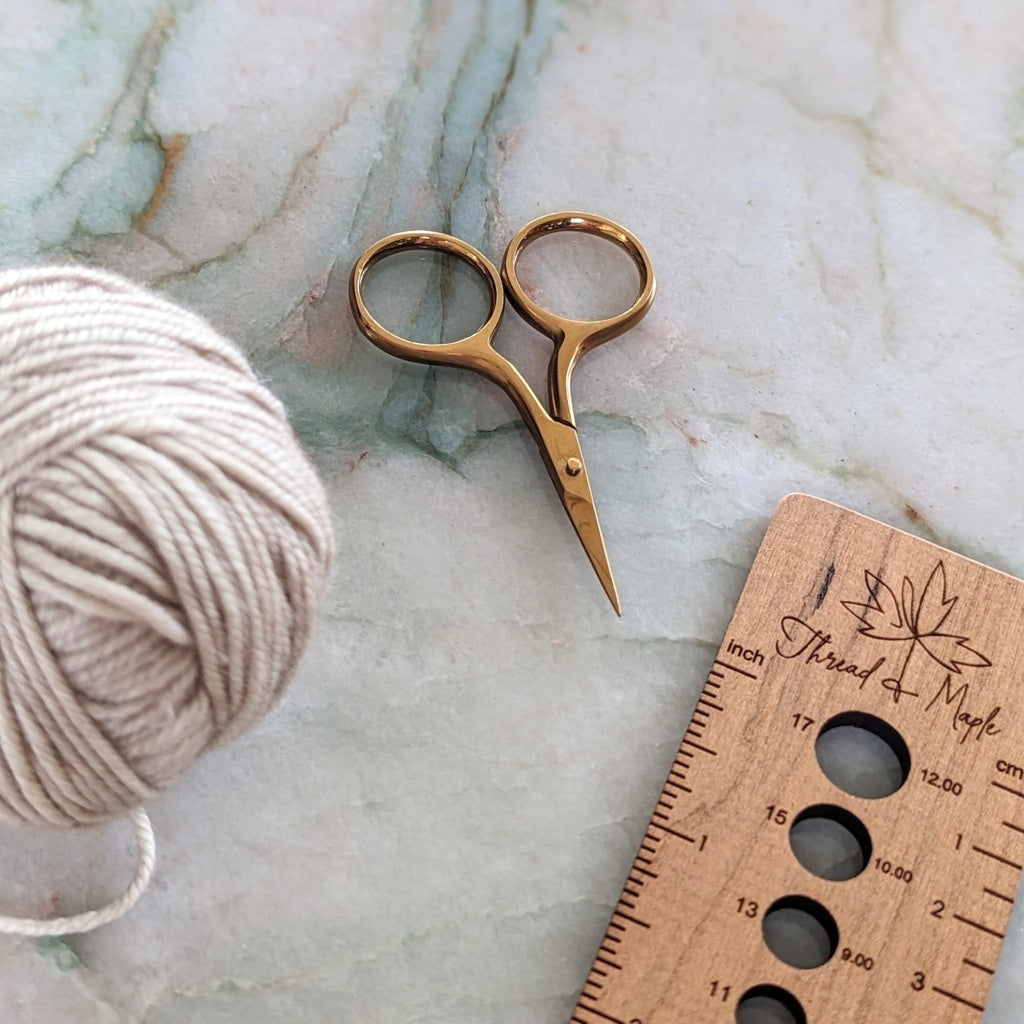
- Sharp scissors
- Waste yarn that is 1-2 sizes smaller than your project yarn in a similar color.
Step 1: Locate the steeking column
Turn the sweater so it's at a 90 degree angle. Identify the two rows of stitches at the top of your sweater on either side of the steeking column where you will be cutting. You will be cutting the ladders located between these two rows of stitches, but not until after you have completed crochet reinforcement on each row of knit stitches and you have picked up the button band.

Step 2: Work the crochet reinforcement
Place a slip knot on your crochet hook.

Step 3: Wrap the waste yarn over the hook
Starting at the top of the steeking column, insert your crochet hook under the two legs of the first knit stitch. Wrap the waste yarn over the crochet hook.

Step 4: Slipped stitch in crochet
You will be doing what's called a slipped stitch in crochet. Pull it through the knit stitch.

Step 5: Complete slipped stitch in crochet & repeat
Continue pulling it through the loop on your crochet hook. Repeat this process in each knit stitch along the steeking column until you get down to the hem of the sweater. Cut the yarn and fasten off by pulling the loop on the crochet hook so the cut yarn pulls through. You will start this process again on the other side of the steeking column beginning at the bottom hem and working your way up to the top of the sweater.

Step 6: Pick up button band
Next, you want to pick up and knit your button band before you start cutting. When you go ahead and knit your button band you've done all that stretching and pulling before hand so there's much less stress on the crochet reinforcement.

Step 7: Use hook to pull stitches through
If you find that you are having trouble pulling the stitches through the fabric with your knitting needle, try using a crochet hook and then place it on the needle.

Step 8: Place stitch markers for buttonholes
To work the buttonholes on your button band, it is recommended you start by placing stitch markers where you want the buttonholes to be. It's also helpful to have your buttons on hand so you can gauge how many stitches to bind off in order to make the buttonhole adequate for your buttons.

Step 9: Attach your buttons
Once you have completed the button band, attach your buttons and get ready to steek!

Step 10: Use a barrier to prepare for cutting
It is recommended that you put a barrier to separate the front and back of your sweater, like a towel. This helps to make sure you don't accidentally cut the back of your sweater while you are steeking.

Step 11: Time to cut!
Gently pull the fabric apart so you can easily see the ladders. Carefully cut 1-2 ladders at a time, making sure you're not cutting your crochet reinforcement. Continue cutting all the way to the end.

Step 12: Secure steeked edge with whip stitch
The last step before you're ready to wear is securing the steeked edge to your sweater using a whip stitch.