What You'll Need
- A knitting pattern that includes a chart
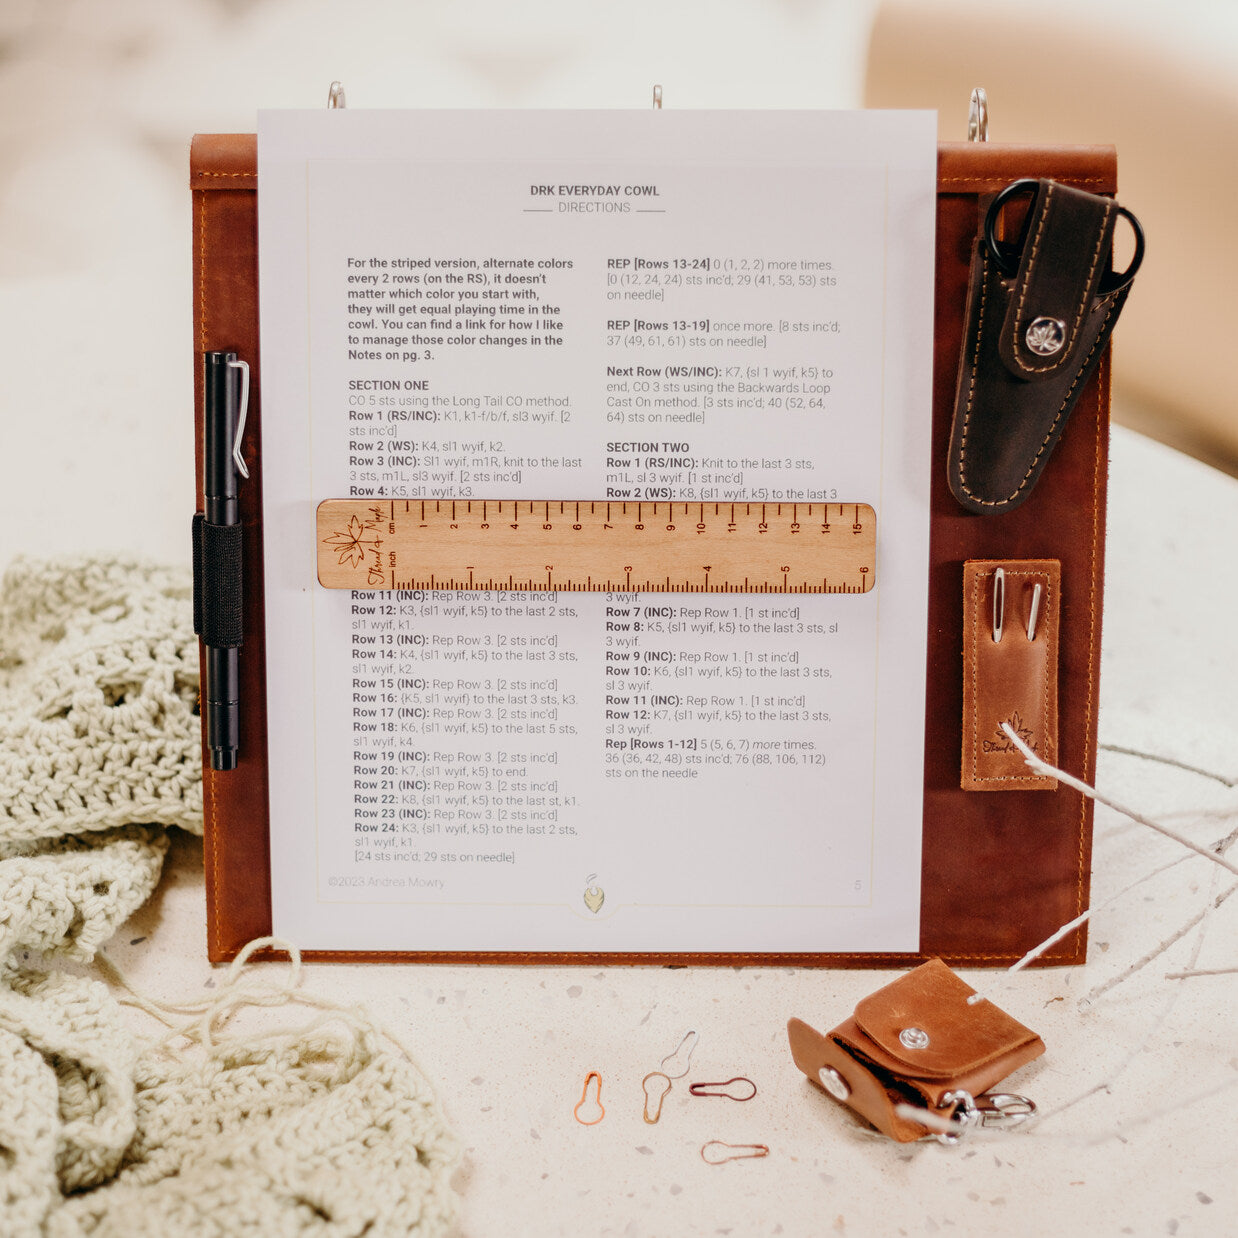
- Something to display your chart clearly and keep it in place. A binder or stand is helpful — like our Pattern Binder
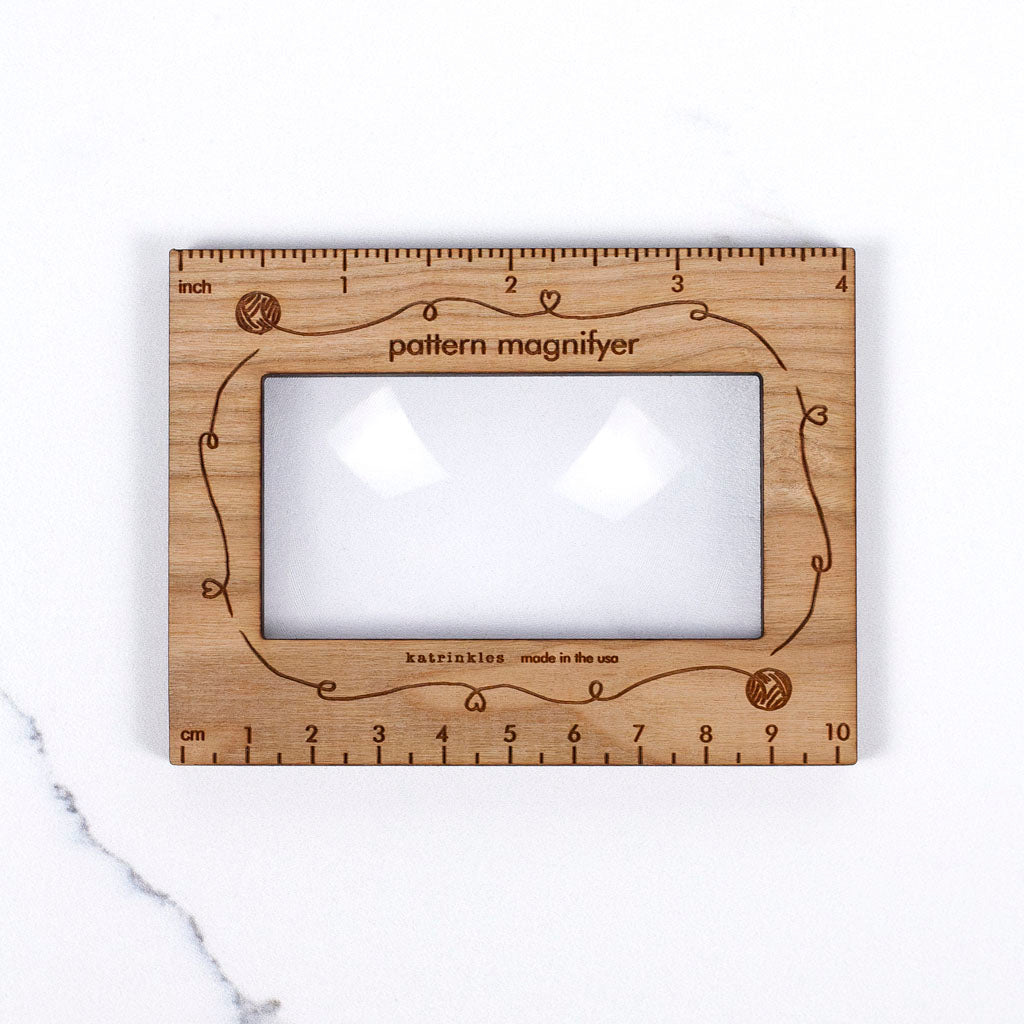
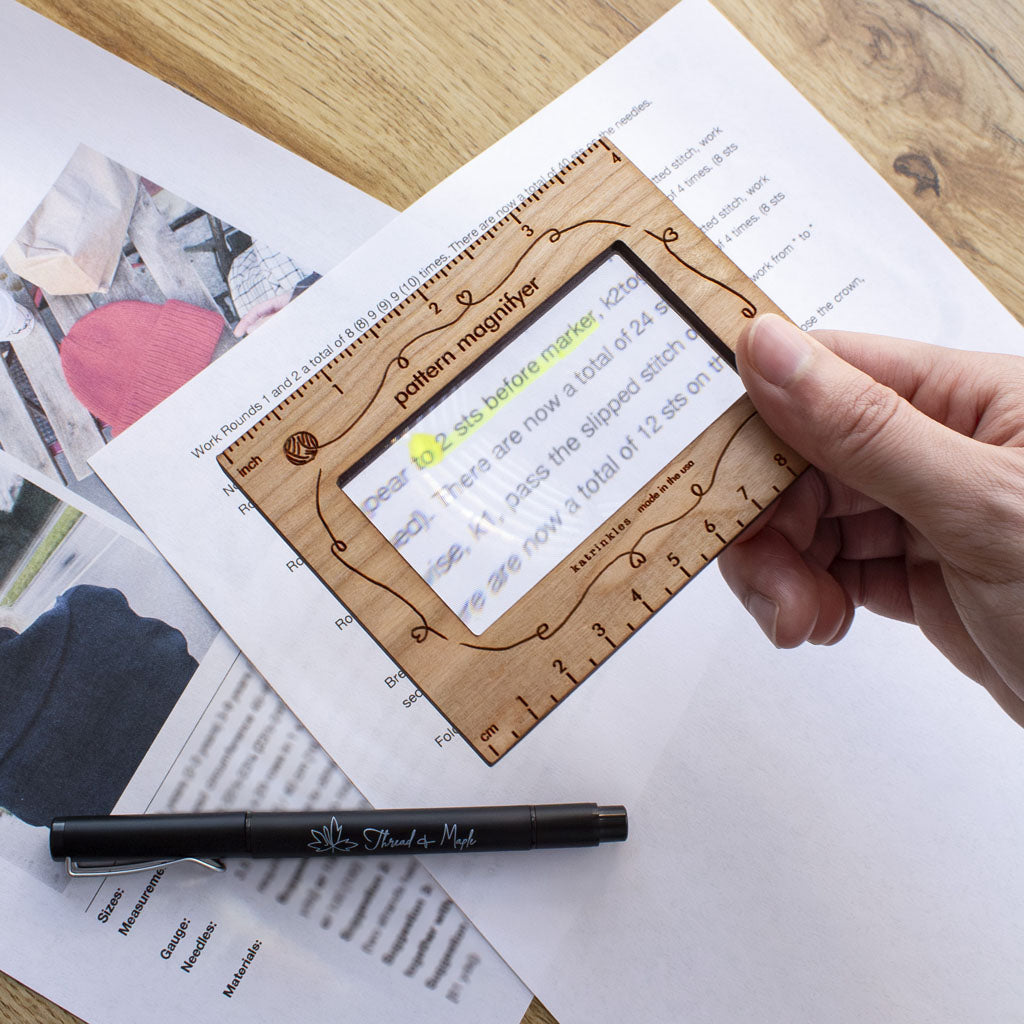
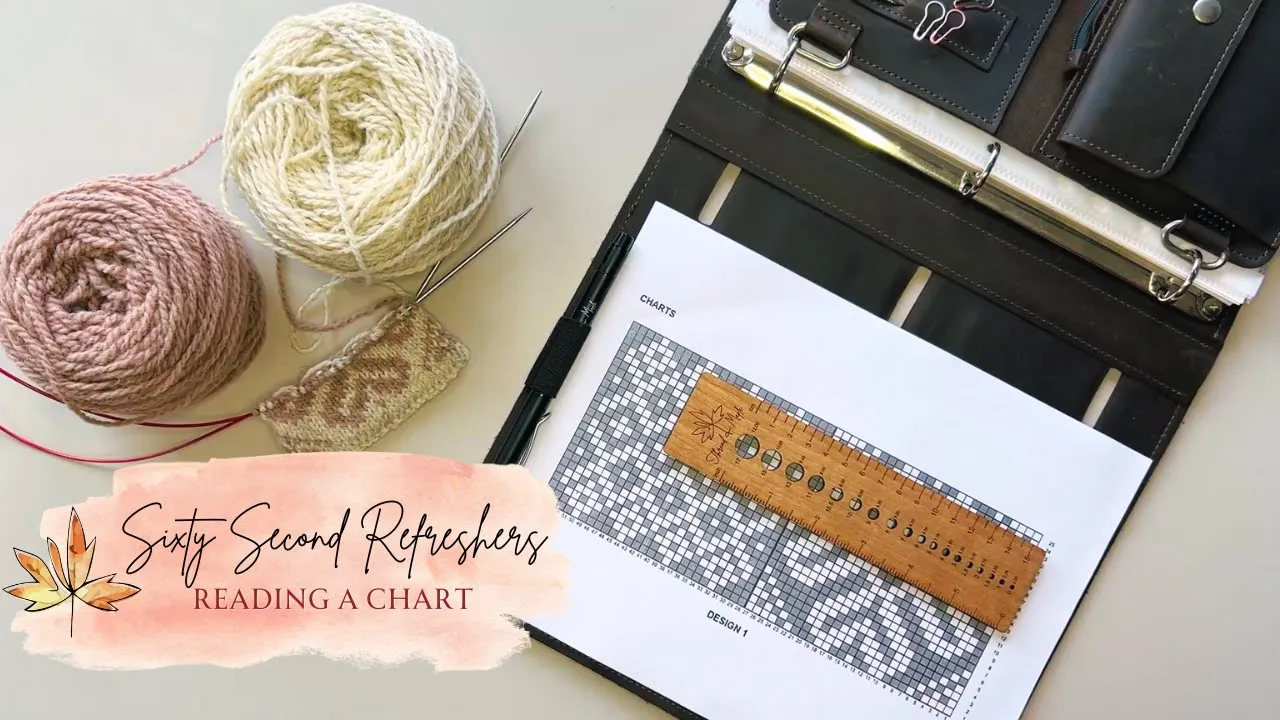
- A ruler or magnet to mark your progress row by row — like our Magnetic Cherry Wood 6" Ruler)
Principle 1: Each square represents a stitch
In most knitting charts, an open square represents a knit stitch. When working colorwork in the round, you will typically knit every stitch and simply change colors when the chart indicates.
Different symbols may appear in the chart squares to represent purls, yarn overs, decreases, or other stitch techniques. A chart legend or key will explain what each symbol means.

Principle 2: Start reading the chart at row or round one
Charts include numbers along the bottom that represent stitches and along the side that represent rows or rounds. To begin, locate stitch one and row or round one, usually found in the bottom right corner of the chart.
When knitting in the round, charts are typically read from right to left. When knitting flat, right-side rows are read right to left, and wrong-side rows are read left to right.

Principle 3: Charts show the right side of your work
A knitting chart is a visual representation of what your project will look like from the right side. This makes charts especially intuitive for colorwork in the round, since you are always knitting on the right side. Once you've mastered reading charts, you'll be ready to tackle more projects like a hat or shawl pattern.
When knitting flat, charts still show the right side. This means stitches may be worked differently on wrong-side rows in order to achieve the correct appearance on the right side.

Knitting from a chart can feel intimidating at first, but with practice it becomes an incredibly useful visual tool. Start with simple charts, take it one step at a time, and you’ll quickly gain confidence reading your knitting.
If you want to expand your skills further, check out our article on free knit patterns. These projects help you practice new stitches and build confidence with real, hands-on knitting.