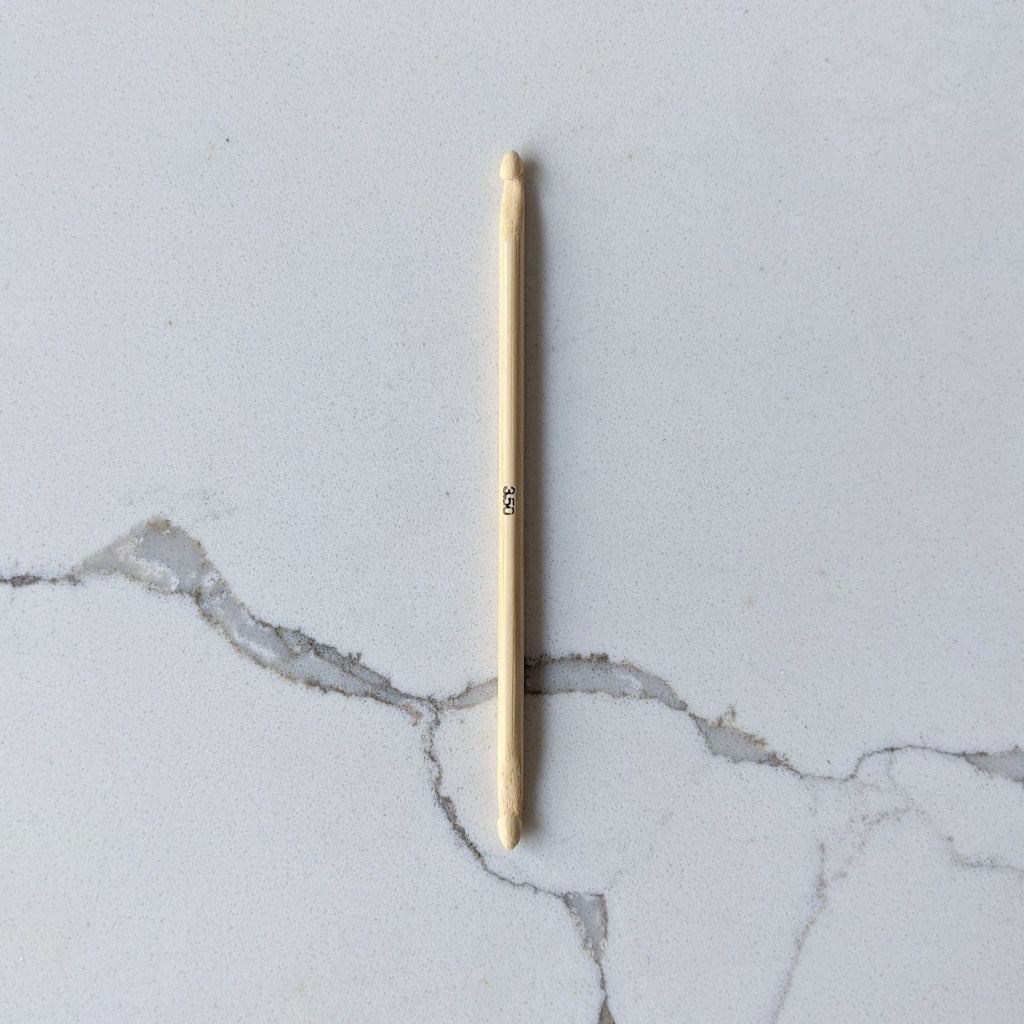
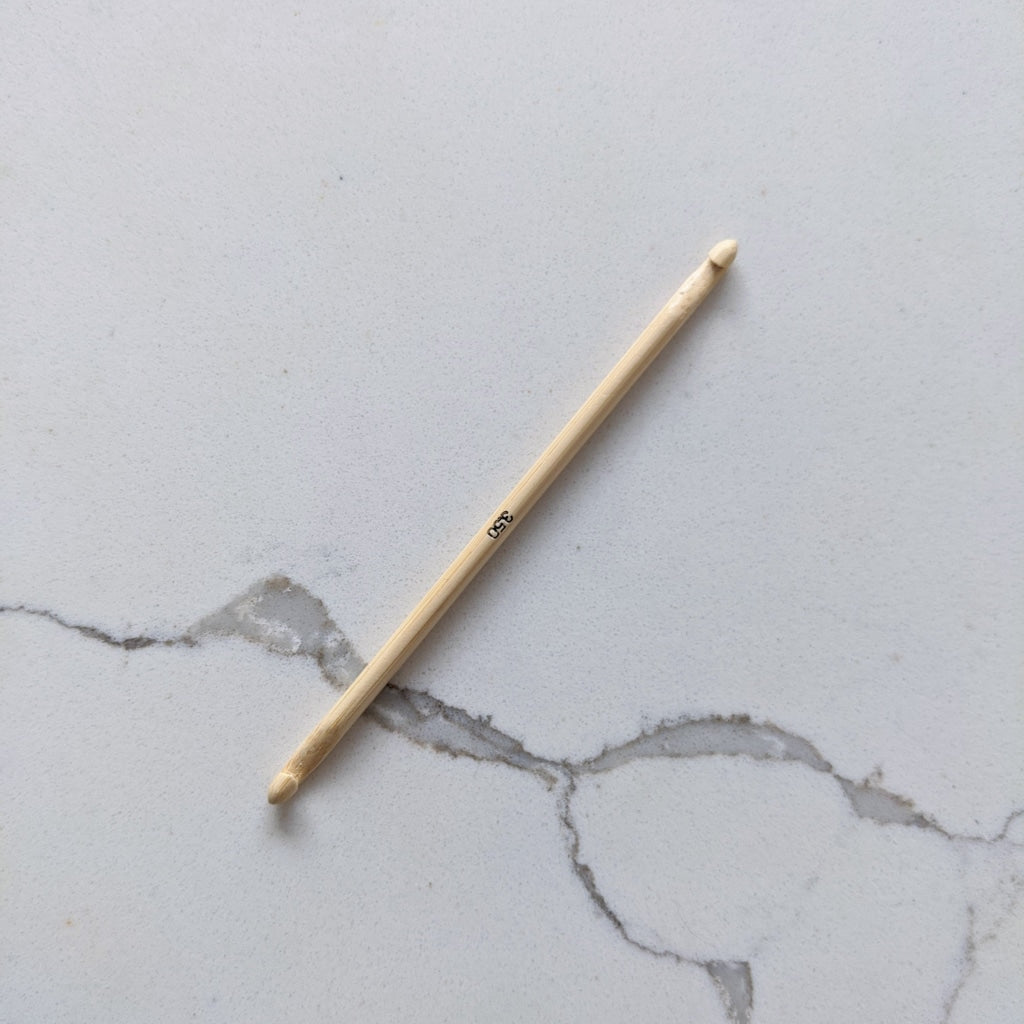
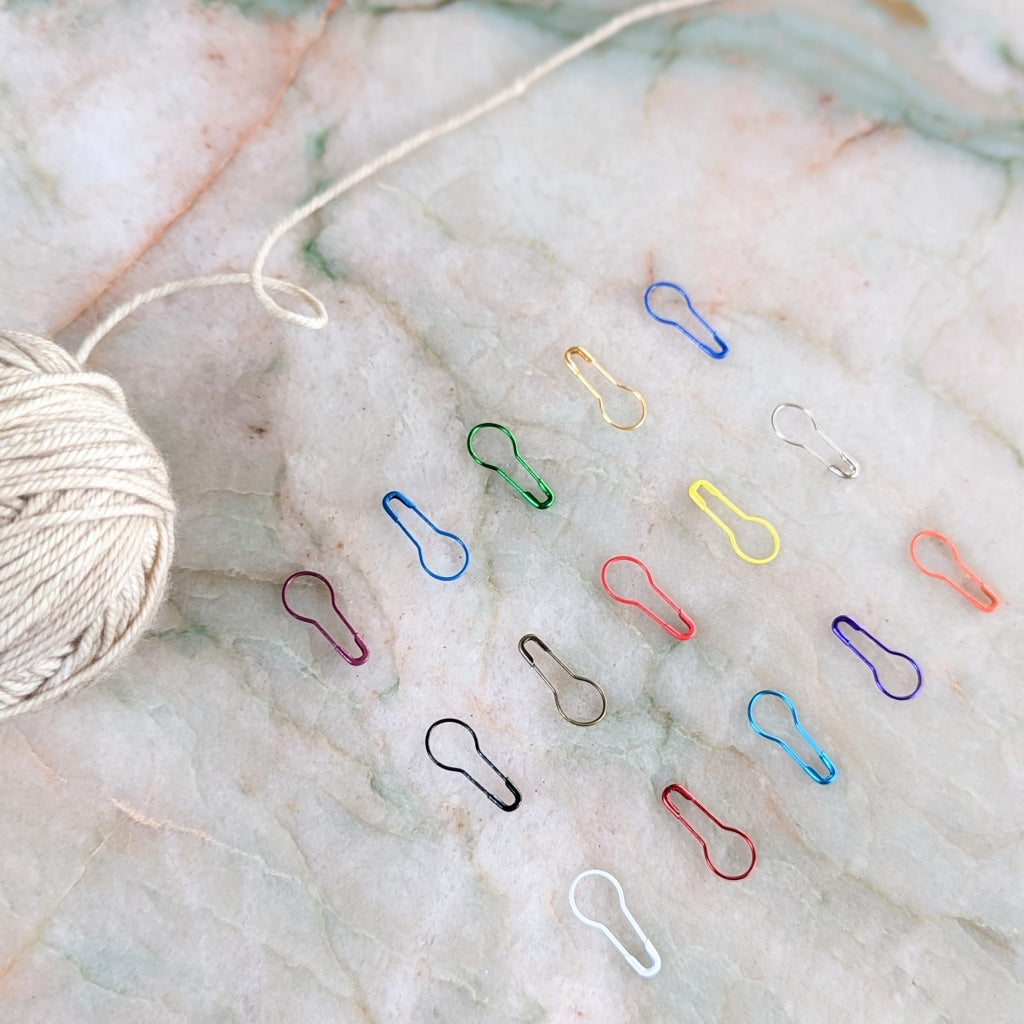
What You'll Need
- Crochet hook (same or smaller size than your knitting needles)
- Removable stitch markers (optional but very handy)
- Good lighting
Step 1: Identify a dropped stitch
Make sure you are looking at the knit side of your work where you see the V's. To identify a dropped stitch, look for a loop that continues to unravel when you pull on the fabric. You will also see long strands above the dropped stitch. These are the ladders.

Step 2: Insert hook into the dropped stitch
Using a crochet hook, insert it into the dropped stitch loop from the bottom to the top.

Step 3: Insert the hook under the ladder above
Insert the crochet hook under the ladder that is right above where the dropped stitch is located.

Step 4: Pull the ladder through
Pull the ladder through the dropped stitch with the crochet hook.

Step 5: Repeat up the ladder
Repeat this process by placing the crochet hook under the next ladder and pulling it through the dropped stitch. Continue all the way up until you get to the top of your work. Once you have reached the top of the work, mount the stitch back onto the left needle with the right leg forward so the stitch is not twisted.

Step 6: If dropped stitch is further down...
If you notice there is a dropped stitch further down your work, it’s helpful to put a removable stitch marker in that loop so it doesn’t continue to unravel. Knit across the current row until you are over the column where the dropped stitch is located. Then you will go through that same process of using your crochet hook to pull the ladders through the dropped stitch one at a time until you reach the top of your work.

Fixing mistakes is a skill, just like doing a knit stitch. With practice, you will get better at it, just like when you first learned to knit. If your plan is to frog your work, why not try picking up the dropped stitch first? You really can't make it any worse. If you're unsuccessful, go ahead and rip back.