
Hey there, fellow knitting enthusiasts! If you've been venturing into the wonderful world of advanced knitting techniques, you've probably heard whispers of a mystical process called "steeking."
Don't let the name intimidate you – steeking is a magical method that allows you to cut your knitted fabric fearlessly, creating openings for sleeves, necklines, or other design elements.
In this tutorial, we'll unravel the mystery behind steeking, guiding you through the process step by step. Get ready to embark on a knitting adventure and turn your project into a masterpiece!
What is Steeking?
Steeking is the process of cutting your knitted fabric to create openings or shape your project. Typically used in the creation of cardigans, vests, and other garments, steeking can be a bit intimidating at first. However, with the right knowledge and a sprinkle of courage, you'll soon find it to be a transformative skill in your knitting arsenal.
How to Steek – A Step-by-Step Tutorial:
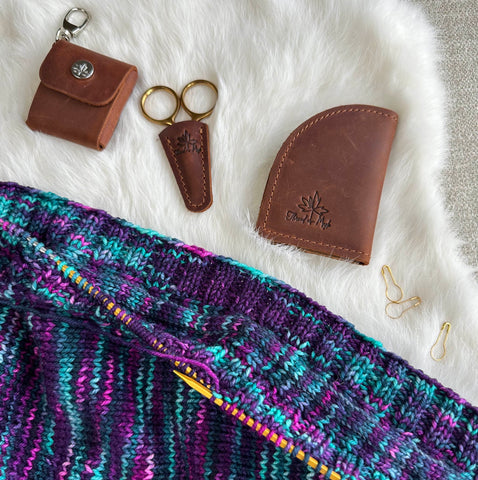
Materials You'll Need:
- A knitted garment (usually in the round)
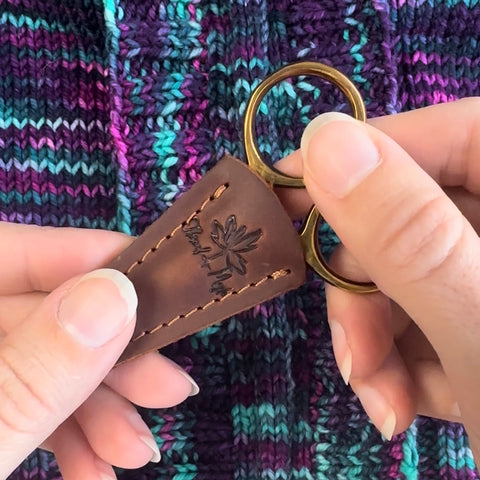
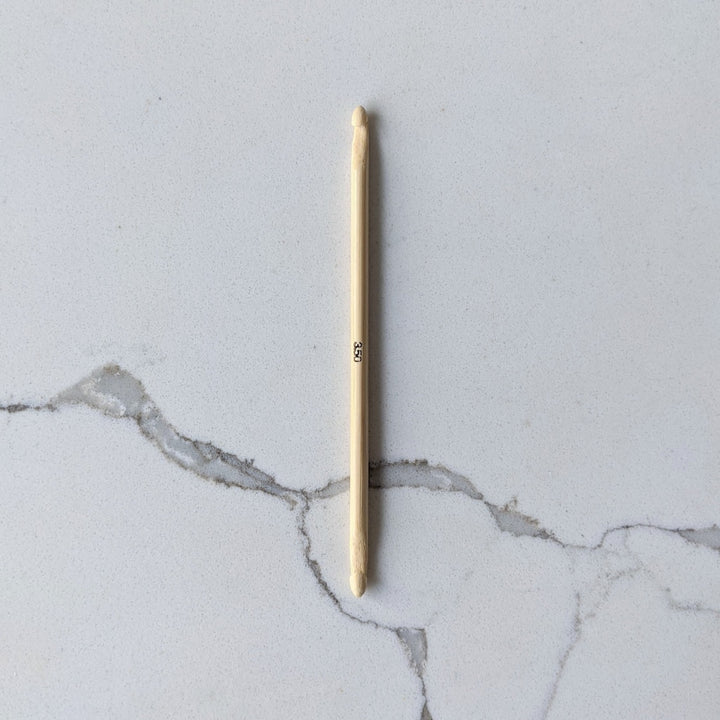
- A stitch repair hook or crochet hook
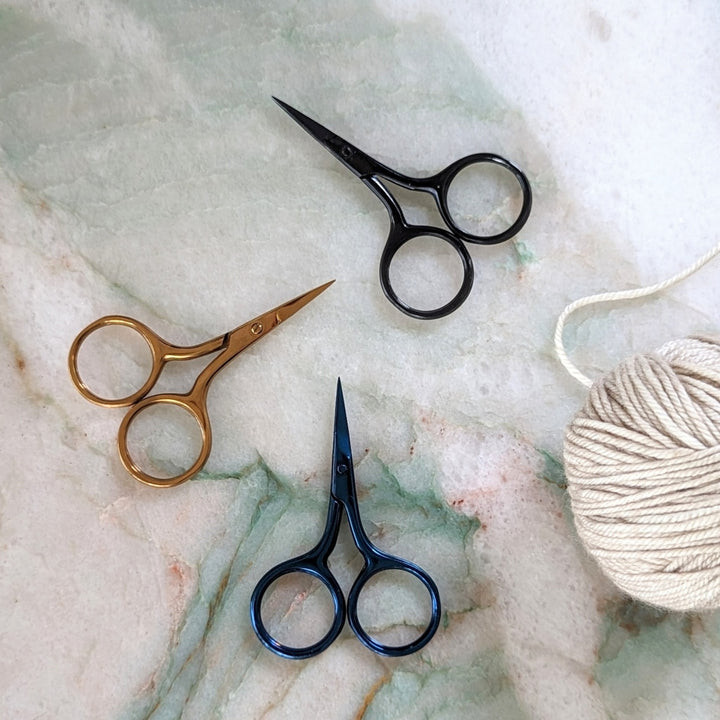
- Sharp scissors
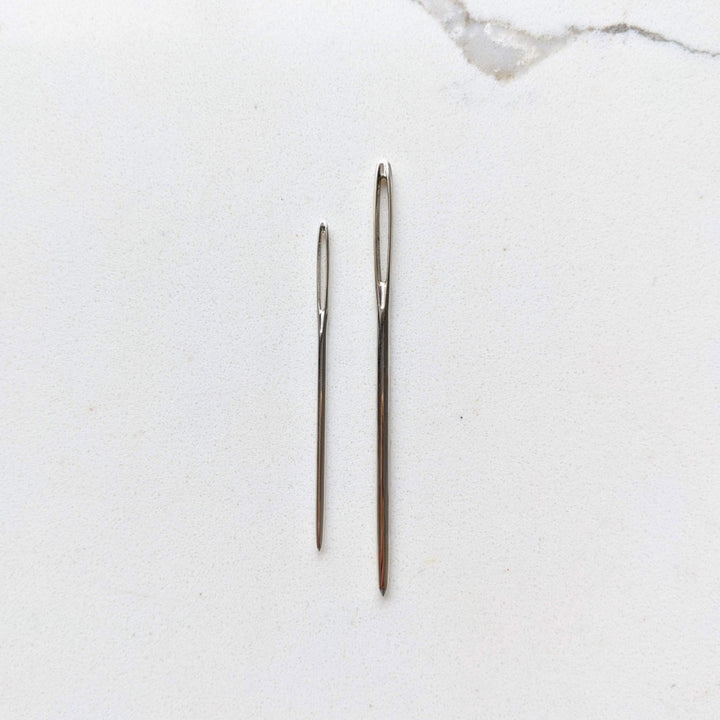
- A tapestry needle
- Patience and a touch of bravery
Grab the Tools You Need
Step 1: Choose Your Project
Not all projects are created equal when it comes to steeking. Pick a design where steeking is appropriate, such as a stranded colorwork sweater or a fair isle cardigan. Steeking over stockinette stitch is the easiest and preferred for an easy steek.
Step 2: Add Reinforcement Stitches
Before cutting, you'll want to reinforce the area where the steek will be. This can be achieved by adding a column of crochet stitches (or using a sewing machine) to secure the stitches on either side of the steeking column. This step ensures that your knitting won't unravel when you make that daring cut.
Step 3: Pick Up Your Button Band, Collar, or Sleeve
Do you have any knitting left to do? Do it now! Don’t wait until after you’ve cut to pick up and knit stitches for your button band, collar, or sleeves. When picking up stitches, you stretch and pull at the fabric—daring those secured stitches to escape. So get all that out of the way before you snip.
Step 4: Take a Deep Breath and Cut
With sharp scissors, carefully cut along the marked line. Remember, it's normal to feel a mix of excitement and trepidation. The reinforced stitches will keep everything in place, preventing any unintentional unraveling.
Step 5: Secure the Edges
Once the cut is made, you'll need to tidy up the edges. This may involve further crochet work or a neat row of whip stitching. This step not only secures your steek but also adds a polished finish to your project.
Tips for Steeking Success:
- Practice on a small swatch first: If the thought of cutting into your precious project makes you uneasy, try practicing on a small swatch to build confidence.
- Choose the right yarn: Opt for a yarn that grips well and doesn't unravel easily. Non-superwash wool is an excellent choice for steeking due to its natural elasticity.
- Reinforce adequately: Take your time reinforcing the steek area. The more secure it is, the less likely you'll encounter unraveling issues.
- Invest in quality scissors: A clean and sharp cut is crucial for a successful steek, so don't skimp on your scissors.

From Pullover to Cardigan—A Successful Journey!
Congratulations, fearless knitters – you've conquered the art of steeking! This technique may seem daunting, but with practice, it can become an empowering skill that opens up a world of design possibilities.
So grab your needles, choose a daring project, and let the steeking adventures begin!
Happy knitting!
Love,

